Pages

Showing posts with label Cook. Show all posts

Tuesday, August 21, 2012

Red Beans and Rice *Crockpot*

Hello?  Anyone still there?  I'm sorry; I've been gone a looooong time.  Life has been pretty busy.  The busier it gets, the less I cook pretty food.  Sad fact.  BUT - I have been using my crockpot a LOT.  Like at least twice a week.  So I thought I'd share some red beans and rice with you.  This is a family favorite, comfort food at its best.  My kids will eat beans and rice without fail.  They would eat it every night if I would allow.  And it is so nice to come home to a meal that's ready to go and waiting on you.

You actually start this the night before you cook it.  Open up your beans, rinse them and put them in a pot.  Cover the beans with water.  Make sure there's a lot of water in there (at least 2-3 inches over the top of the beans).  Put the lid on the pot and leave it just like that on the counter over night.  This softens the beans so you'll get a better consistency when you cook them.

When you wake up drain your beans in a collander, rinse them (I'm told this removes the gas from the beans) and put them in your crock pot.

Add your liquid.  Best case senario is stock.  If you don't have any, you can use water.  If I use water, I usually add bullion or brown gravy mix.

Add onions, garlic, bell pepper (you can buy this pre chopped, or chop them the night before when you put your beans soaking) and seasoning.

You can either add your sausage straight from the fridge, or cook it first.  I've done it both ways with no complaints from the crowd.  It really depends on how much time you have.  I prefer the taste and texture of browning it on the stove first, but some days I'm short on time and I throw it in the crock pot without even bothering to cut it.

That's really all there is to it.  Put the lid on your crock pot and let it do it's thing.

Serve over rice (which can also be made the night before if you know you'll have a hungry crew when you walk in the door).

Wednesday, February 8, 2012

Chicken with Roasted Peppers and White Wine Butter Sauce

Ok.  Yum.  Can I just say this is amazing!?! Like, super-yum. 


I made this on one of the three days this "winter" when it got cold.  I was looking for some warm comfort food that was kind of fancy.  The butter and the wine make the sauce so rich, and the peppers are soft and sweet.

I serve it over cheddar grits.  I think you should, too.  But if you don't know what grits are, or you're really adverse to them, I'm sure it would be awesome over mashed potatoes.

Well enough talking - let's cook!

**If you are making cheddar grits, I like to start them first so they have plenty of time to get cooked all the way**

Grab your groceries:


Sear chicken and cook through - brown bits = GOODNESS!


While that's going, put the peppers in the oven to roast


Put the chicken in a plate and set aside.  Pour the wine in the pot over the browned bits of chicken.  Cook about 4 minutes then add butter.  Oh! My!  This is when it starts to get GOOD!


When the butter melts, add the onion mixture.  Do you smell that???


Then the mushrooms.


When the mushrooms get brown, add in the chicken stock.  Give that a few minutes to marinate while you chop the chicken and skin and chop the peppers.  Then add the peppers and the chicken to the pan.  Make sure to pour in any chicken drippings in the bottom of the plate.


Let it all cook together for a few minutes.  Then dish up the grits...


And add the chicken, peppers, mushrooms and sauce over the top.


Now, pour a glasss of that wine and dig in.
Get the printable here.

Tuesday, February 7, 2012

Roasting Peppers

I love roasted peppers.  And they're SO quick and easy to do on your own.  I know methods vary here...but this is how I do it.


I put my peppers on a cookie sheet and put them in the oven at 400 degrees.  When they get black and blistery on the top, roll them over with some tongs.


You want all 4 sides blackened.


Then throw them in a ziploc and close the top so they will sweat, which will make them easier to peel.


Leave them in the bag for a few minutes, then take them out and peel them.  The skin should come off very easily.

Take out the ribs and seeds.


There ya go - see - easy!  And sooooooooo goooooood.

Wednesday, August 31, 2011

When All Else Fails...

Life is busy.  It's been so very busy.  I could list all the reasons why, but I bet one thing: we all have busy lives.  Everything's been so crazy around here that I decided to skip bible study tonight and just stay home.  I was all the way home, with all 3 kids unloaded from the car before I stopped to think about the fact that I had no clue whatsoever about what to do for dinner. 

We had a pack of chicken tenderloins in the fridge.  There were some sweet peppers left from the market this weekend.  I found some evaporated milk in the pantry (don't wince, it's the perfect substitution for cream).  I decided to go with what I know.  When all else fails butter + cream will save the day.
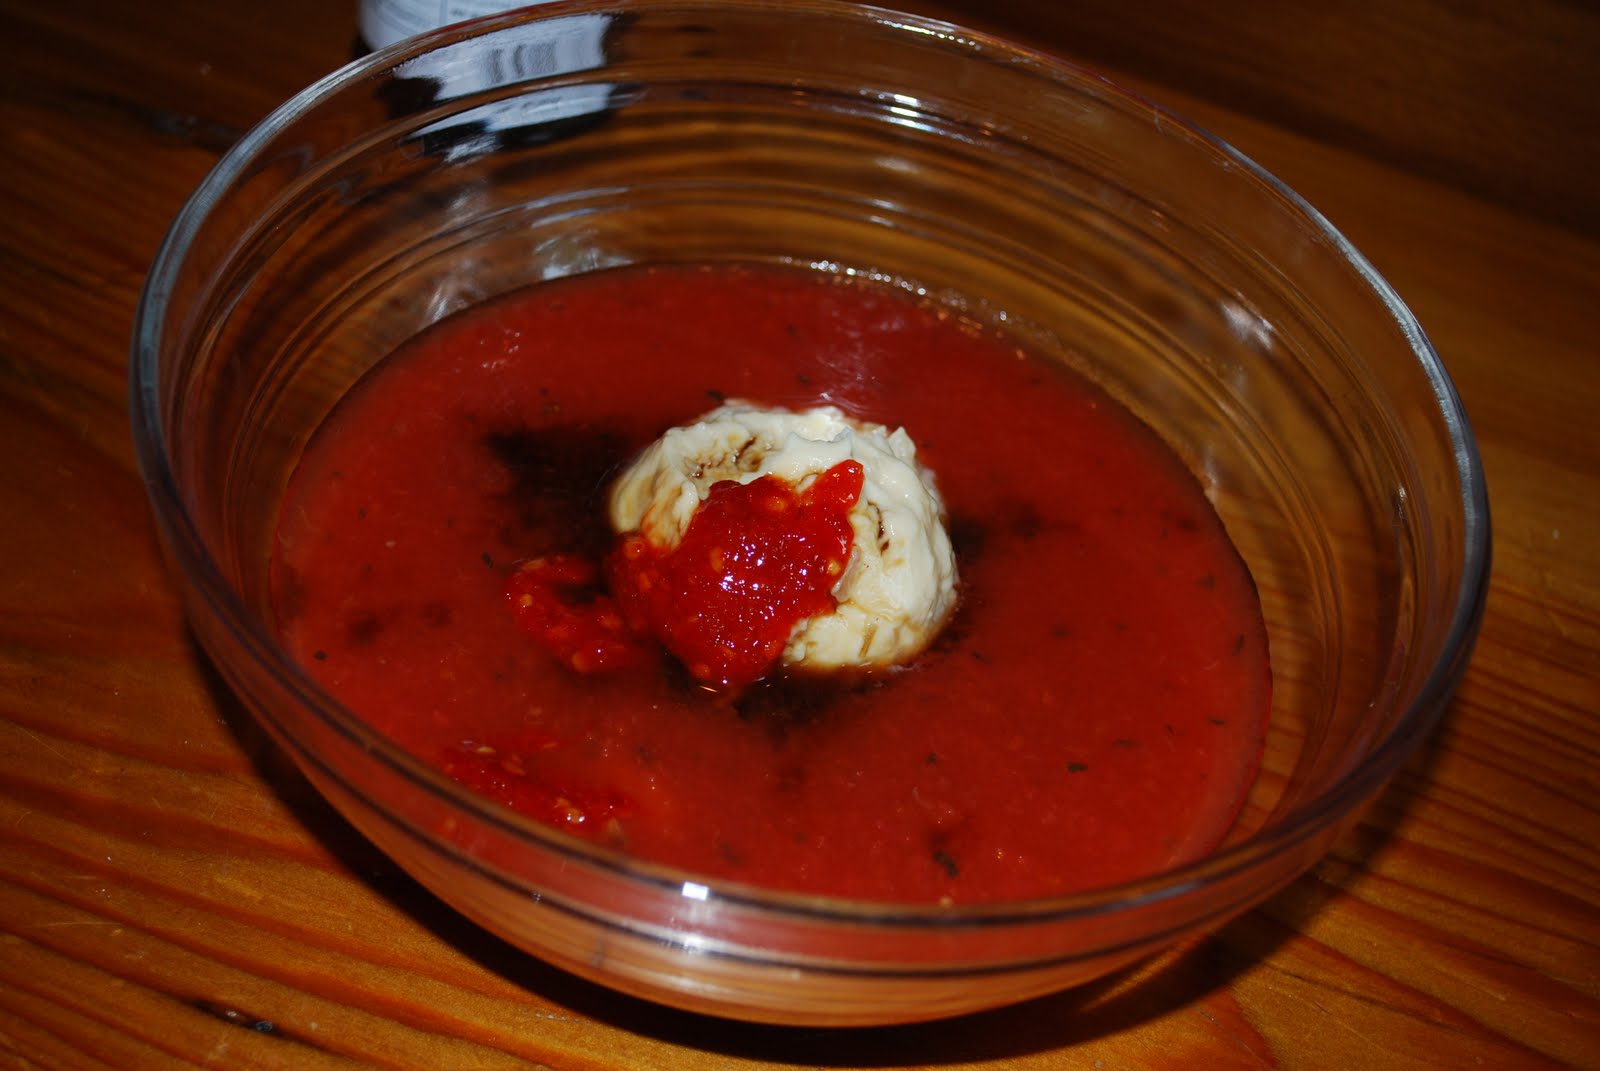
This isn't so much a recipe as it is a reminder.  You can probably make a meal with what you have on hand if you just get creative and confident.

So here's what I did:  I melted some butter in a pan and added in the chicken (tenderloin strips), straight from the package.  I sprinkled on some Tony's and threw the bacon press on top.  After a few minutes, I flipped the chicken.  I added some onion and sweet peppers, because I had them and they would probably go bad in a day or two.  While that was all cooking {and smelling pretty good} I poked around the fridge for more ideas.  There was a little bit of the chili paste I'd used making Citrus-Chili Chicken, so I decided to add that.
In a bowl, I whisked a can of evaporate milk, what was left in the jar of chili paste and a little flour.  I poured that in and continued to add a little bit of this and that.  We ended up with a nice, quick meal that I didn't have to think about or plan.
Don't be afraid of your kitchen.  Melt some butter in a pan then add cream and flour (whisk this in a separate bowl first) --- you just made cream sauce.

Too thick?  Thin it our with a little chicken stock.

Too thin?  Add more flour - or cheese(!)

Bland?  Add in some vegetables, the end of a jar of something that's in the fridge, lemon juice, a seasoning packet... whatever you want!

Just remember: Butter + Cream + whatever flavorings you've got lying around = easy weeknight pasta.  And who doesn't need a good cream sauce after a busy day?

Linking up at Tidy Mom

Tuesday, July 12, 2011

Potatoes au Gratin

WARNING!  Extreme cheesy, creamy, carb-y, yummy-ness to follow!
Okay, I am a meat and potatoes kind of girl.  Not that I indulge in them at every meal. . . but when you start talking about favorites. . . there are potatoes.  Lots of them.  With cream and butter and cheese, please.  So without further ado ~

Gather the following:
Potatoes (about 1/person, maybe add a few extras if they're small)
1 cup heavy cream
3/4 cup milk
1 cup shredded Cheddar cheese, plus some for topping (I pretty much used the whole bag)
4 cloves garlic, crushed
Salt and pepper

Preheat oven to 375 degrees (OH - perfect temp to sit in the oven next to the meatloaf ~ coincidence?).  You might also want to go ahead and grease a baking dish.  I had a pretty little oval, you can use whatever size fits the amount of potatoes you're cooking.

Slice your potatoes evenly, like so.  A mandoline would be fabulous here, if you have one.  Mine is broken :( so I just sliced them by hand.
Stand them up in your greased dish.  Make sure there's room for them to move a bit, you want cream to fit in all the cracks.

In a bowl, mix together the rest of the ingredients.
Pour that over, around and between the potatoes.
Put in oven uncovered for about 45 minutes, until you can stick a fork in them easily.  Mmmm....rich, creamy, bubbly goodness!!!
Remove from oven, and top with some more shredded cheddar. 
Put back in oven for about 12 minutes, until cheese is nice and bubbly.
Oooohhhhh. My. Wow!

Carb-loading (only on occasion) works for me!
See what works for everyone else.
works for me wednesdays

Monday, July 11, 2011

Chili Pepper Meatloaf

I have had meatloaf on the brain lately.  I don't really know why, I've just been thinking about it daily.  Do you ever get a food stuck in your head and think about it constantly?  No?  Maybe it's just me. . . I tend to think in food, and I kinda knew it wouldn't go away until I made some.

AND...

I've been seeing these adorable little tubes of spices in the produce section at the store.  I always look, then decide that I'm perfectly capable of chopping my own herbs . . . and I leave the little tubes at the store.
But ya know what?  Sometimes I don't have the time.  And sometimes the fresh produce isn't looking so fresh.  And sometimes I just don't feel like it.  So I picked up this little guy today.  He's the secret ingredient in this meatloaf.  Of course, if your grocery store doesn't carry these, you can just get a red chili pepper.

First, grab all of this for the meatloaf. . . .
Meatloaf
1 pound ground meat ( I always use the leanest I can find)
1/4 cup shredded Parmesan cheese
1 egg
1 Tbsp Red Chili Pepper Spice Blend (or 1 red chili pepper, minced)
1/2 cup bread crumbs
1/3 cup diced tomatoes, drained (canned is fine)
3 cloves garlic, crushed
1 tsp salt

and this for the sauce. . . .
Sauce
1 1/2 cups pureed tomato (about (1) 28oz can)
1/2 can cream of mushroom soup
1 Tbsp Red Chili Pepper Spice Blend (or 1 red chili pepper, minced)
1 Tbsp worcestershire sauce

Preheat your oven to 425 degrees.

Throw all of the meatloaf ingredients in a bowl.
Squish it all together with CLEAN hands.
Form into a loaf in a square pan.  I use a 9" pan, so there's room in the oven for another pan with potatoes.  If you have a hungry crew, you might need 2 meatloafs (meatloaves?). . . so you'll have to do a 9x13 pan.  But if one pound of meat serves your family, definitely think ahead of time about where you'll cook your potatoes ~ it's kind of a rule that meatloaf has potatoes next to it.
Put this in the preheated oven, uncovered for about 15 minutes, to brown.

Meanwhile, mix up your sauce.  Just put everything together in a bowl
and whisk
until the cream of mushroom isn't clumpy anymore.
Remove your browned meatloaf from the oven,
and pour the sauce in the pan.
Return to the oven (still uncovered), reduce ove temperature to 375 degrees, and cook another 45-55 minutes, until cooked through.
Serve in slices with sauce poured over the top.  For smaller children I break it into pieces with the spatula and hold off on extra sauce.  There's a little heat in the sauce, so what's on there in the pan is probably enough for the younger ones.  Mine attacked this and asked for more.

Get the printable here!

***Make Ahead Tip***  You can mix everything up for your meatloaf, form it in the pan, cover it and store it in the fridge overnight.  That way when you get home from work and you're too tired to cook, all you have to do is throw it in the oven.  Don't forget to go ahead and mix up your sauce too.  Just store it in a separate container in the fridge. 

This recipe is linked to:
Mingle Monday and Melt in Your Mouth Monday

Tuesday, July 5, 2011

Blueberry Syrup

I hope you had a fantastic weekend celebrating Independence Day!  It was a very productive weekend at our house.  We painted the boys' room and built their big boy beds.  I'll show you all the details of that when we finish ~ projects tend to take longer than we expect, usually thanks to our little "helpers". (yes, she dressed herself!)
On Sunday, in the middle of trying to paint the new beds, we were thwarted by a heavy thunderstorm.  So the construction got closed in the garage, and we moved our productivity to the kitchen.  We bought 8 pints of blueberries at the farmer's market, so I knew they would have to be turned into something yummy.  We debated on jellies, jams and spreads but ultimately decided to make syrup.  The process was kind of long (as canning projects tend to be), but very easy. 

Don't forget to sterilize your jars.  I put mine in the diswasher.  Which I have to think about at the beginning of the process, because it's usually full of dirty dishes.  So I have to run those, unload and then do the jars.  But enough about my messes....on to the syrup!

Start with blueberries, water and lemon zest.
8 cups blueberries, cleaned of stems and whatnot
2 cups water
1 Tablespoon lemon zest

You'll also want to go ahead and set yourself up a collander or sieve lined with cheesecloth over a large bowl.

Place blueberries, zest and water in a saucepan over Medium heat.  Bring to a gentle boil (it took about 12 minutes for mine to get to a 'gentle boil').  Let it boil for about 5 min, stiring occassionally.
 
Remove from heat and pour into prepared collander.
 
Now...the recipe said, "allow to sit, undisturbed for at least 2 hours".  Uhm...I'm not really that patient, I was over at the bowl messing with it ever 10 minutes.  Finally I decided it was not dripping enough blueberry goodness, so I put a bowl on top with a can in the bowl to weigh it down.  I don't know if it really helped the process, but I quit messing with it after that.
 
After your two hours is up, you make the actual syrup.  In a large pot or saucepan fitted with a thermometer, put 4 cups water and 3 cups sugar over Medium High heat.
Boil until the mixture is 230 degrees.  This takes a while!  Remember how I said I'm not patient?  Well it was taking so long I decided that surely I had done something wrong.  I almost threw it out and started over, but instead I googled "how long does it take to boil sugar water to 230 degrees".  What I found out is that the boiling point of syrup is 230 degrees and what takes so long is that the water has to evaporate until the ratio of sugar to water is such that a syrup can be made.  You can read more about it here, here or here.  Or you can just wait it out patiently . . . . whatever works for you.  You'll notice somewhere right beyond 200 degree that your bubbles change from regular-looking boil bubbles to a shiny, glassy look.  That means you're getting close to syrup.
Once you reach 230 degrees, pour in all that yummy blueberry juice that's been draining and crank the heat up to High.  Bring the mixture to a boil and let it boil for 5 minutes.  Then ladle it into your prepared jars.  You want 1/4" headspace.  Seal the jars and process for 10 minutes.  Turn off the heat and leave them in for 5 more minutes, then remove the jars, cool and store.  
*For more information on canning, take a look around here.  There are a lot of specifics that go into canning, but it's not hard at all. 


Monday morning we had lemon pancakes with blueberry syrup!  YUMMY!
Have a great day...see you tomorrow!
Related Posts Plugin for WordPress, Blogger...